You will need three constituent parts to construct your first Archwing: a Harness, Wings and Systems. Each of which comes from a specially marked Excavation Mission (which you may remember from Vox Solaris). You will need to defend and power Excavators by collecting and delivering Power Cells dropped by special Power Carrier enemies.
Keeping each Excavator powered and safe for 100 seconds will complete its dig and deliver a Reward. Note that during The Archwing Quest you only need to successfully defend one Excavator per Mission before exiting at the extraction point.
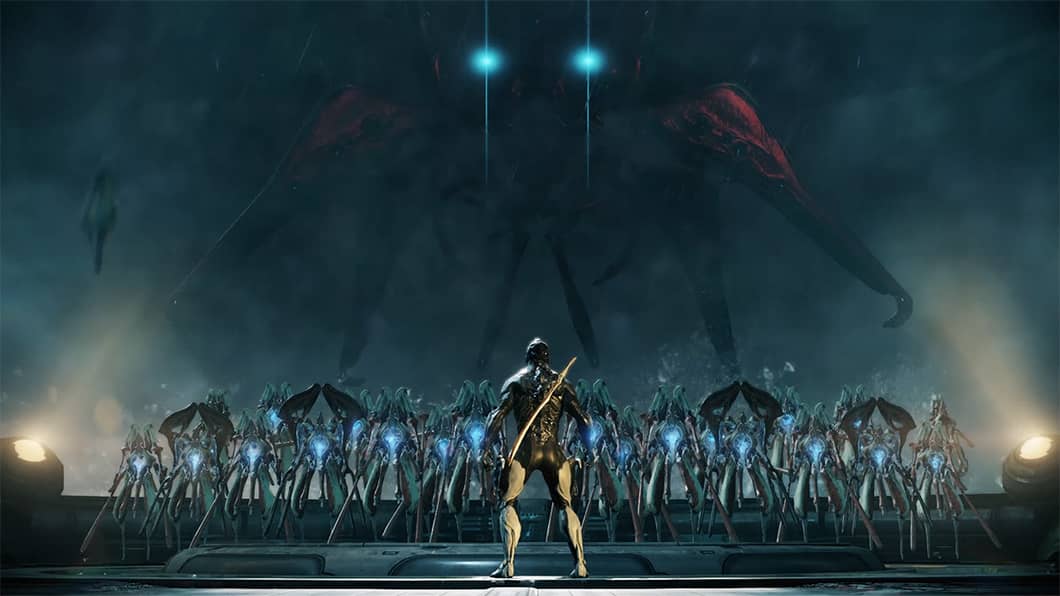
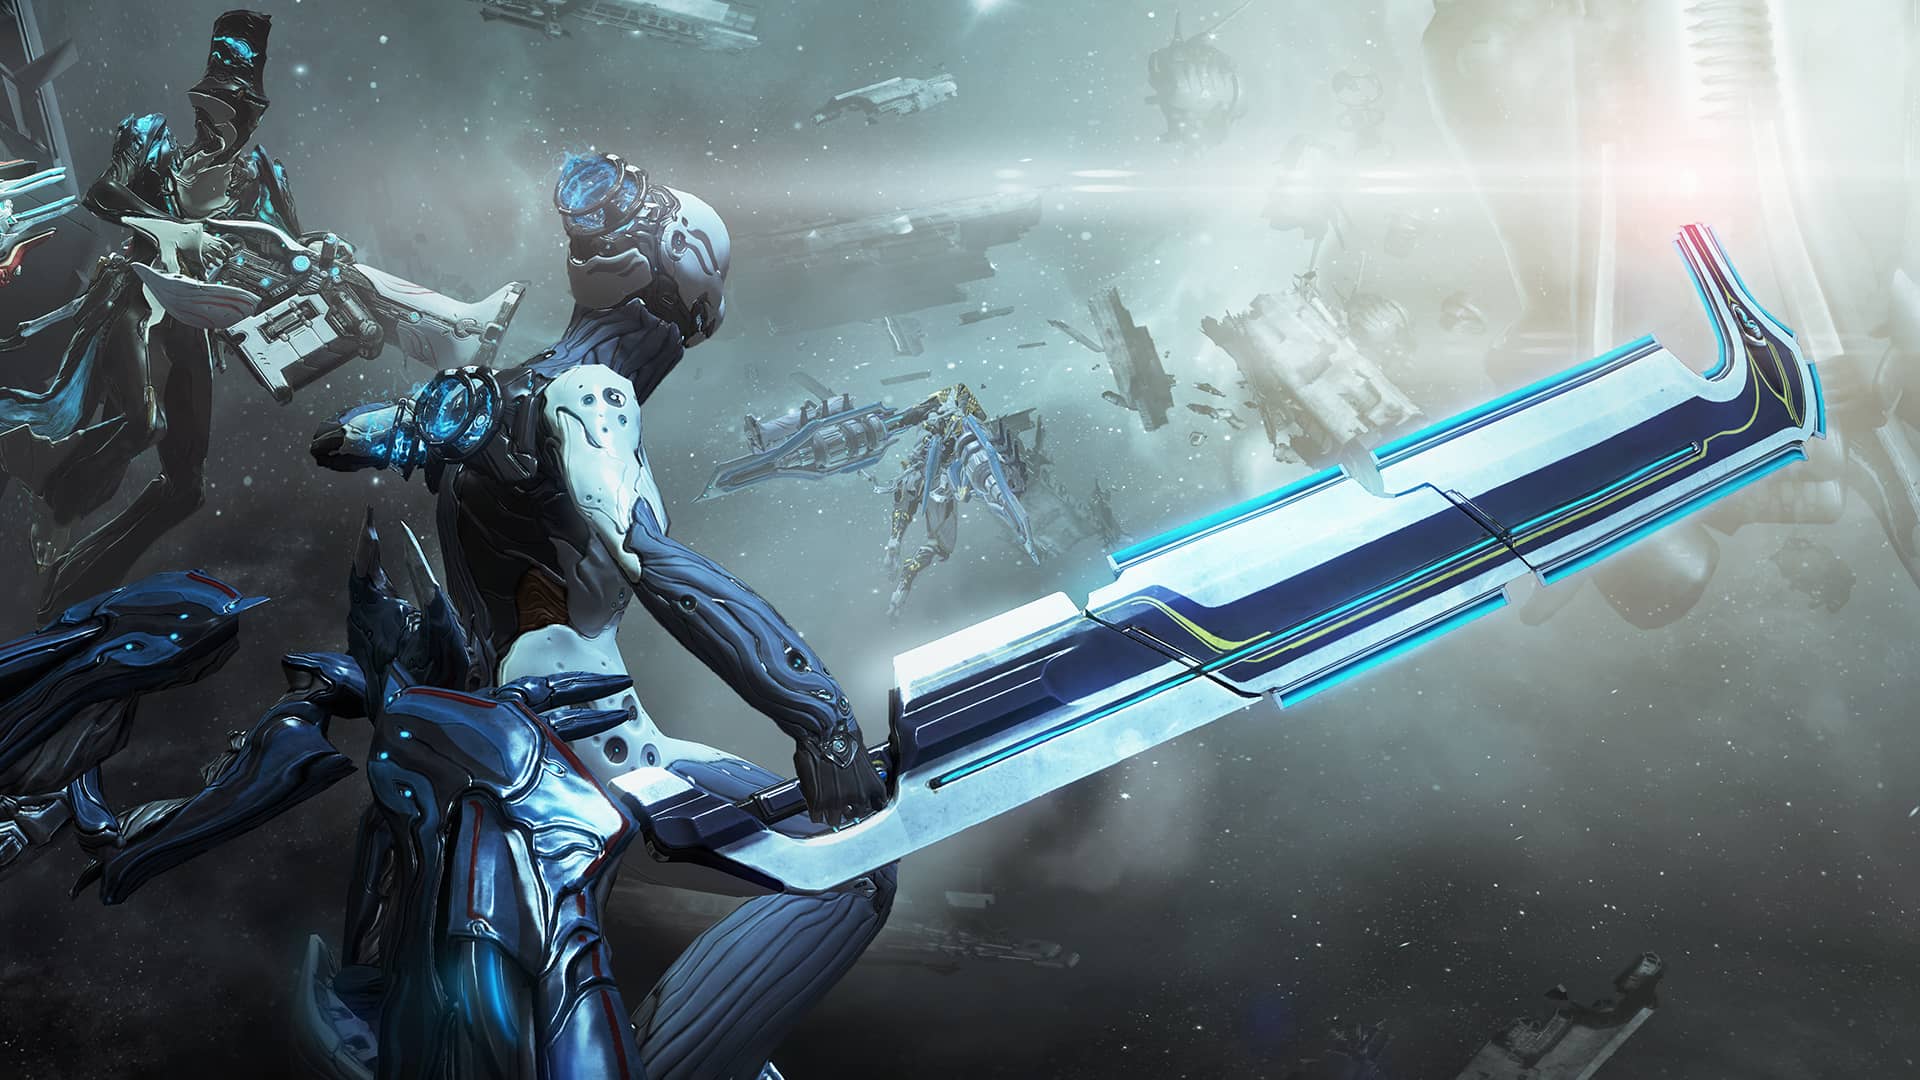
You must craft each component of your Odonata Archwing, as well as the Archwing itself, at your Foundry. Once it’s complete, you may take the battle to Councilor Vay Hek in your first Archwing Mission — automatically gaining access to free Archwing Weapons in the process. This will permanently unlock Archwing and Submersible Missions for play on various worlds.
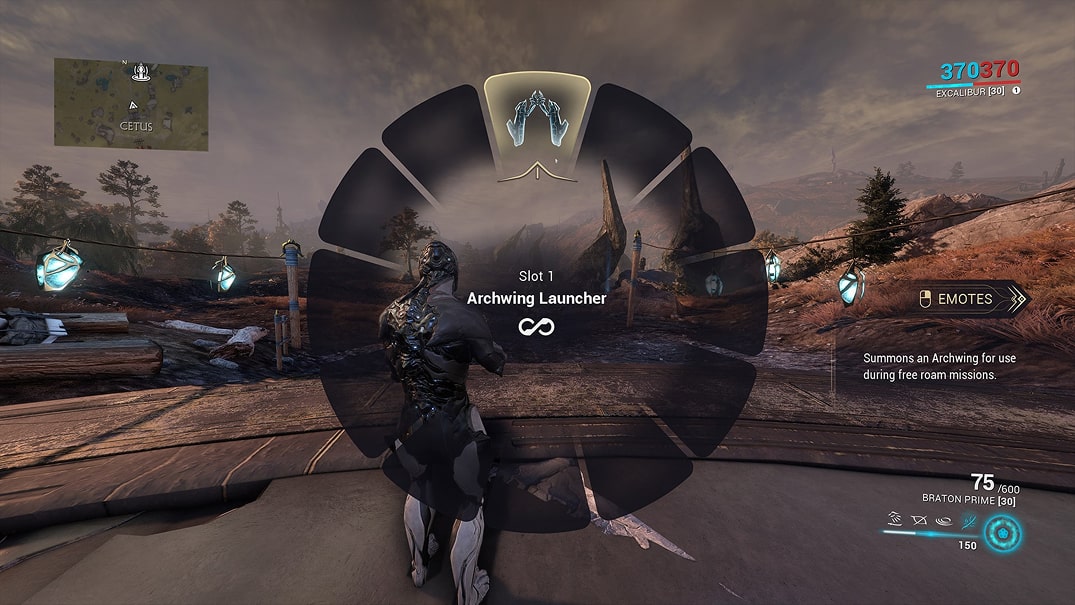
As a reward for completing the Archwing Quest, you should receive an Archwing Launcher: a Gear Item that can be equipped in the Arsenal (just like Codex Scanners). This will allow you to use your Archwing in open Landscape areas, such as the Plains of Eidolon, by selecting the item during any Mission in an open-world Landscape to activate the Archwing.
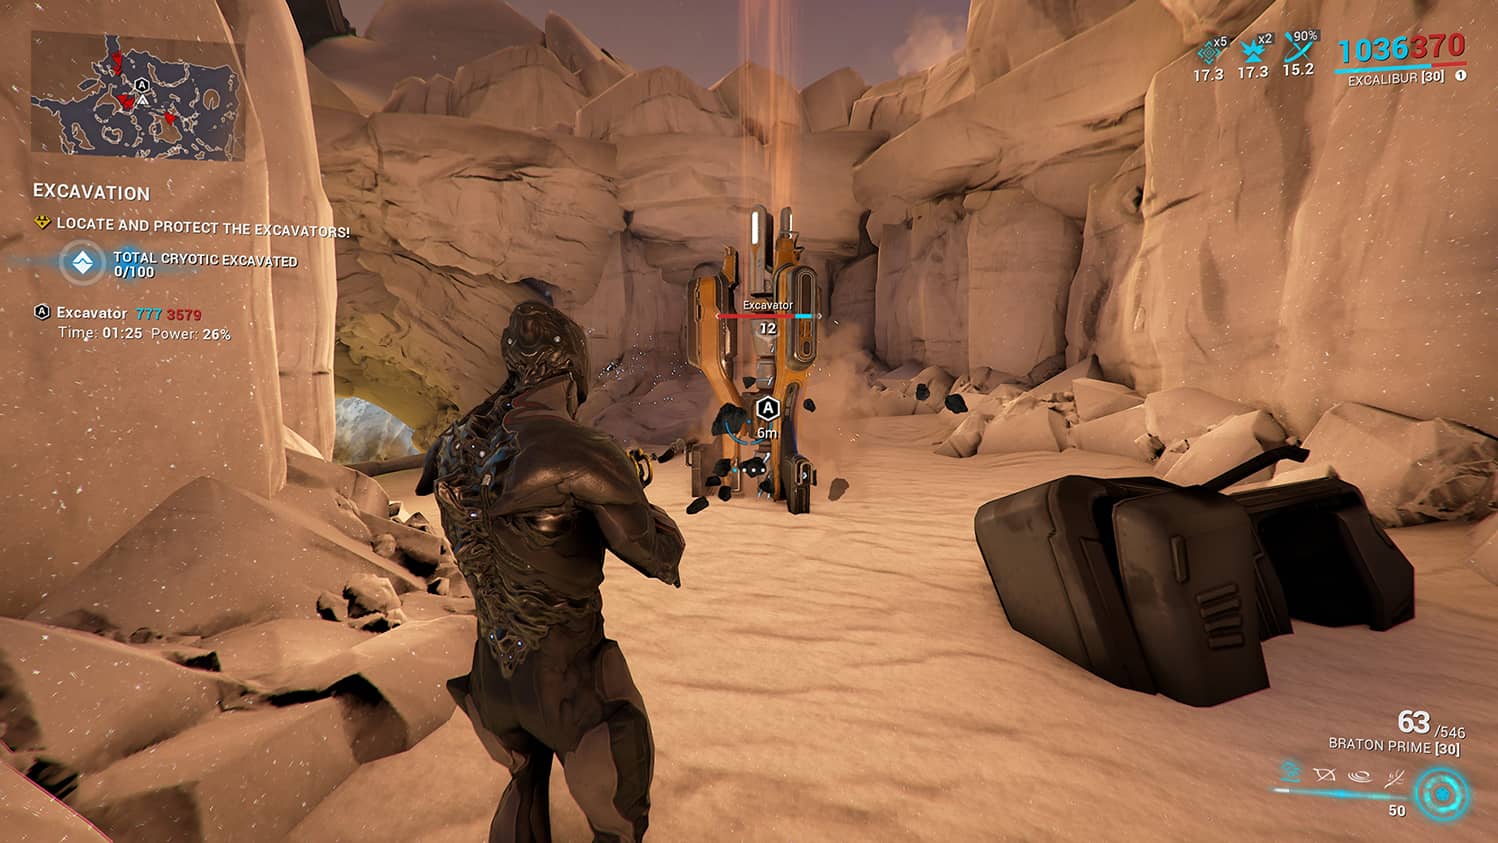
Each Excavator requires a total of four Power Cells to finish harvesting and any player that delivers a Power Cell contributes for the entire Squad.
Delivering a Power Cell to an Extractor will fully restore its shields. This is possible even after an Extractor has reached full power.
Once an Extractor’s power percentage reads “Power: Full” you simply need to wait for the timer to complete.
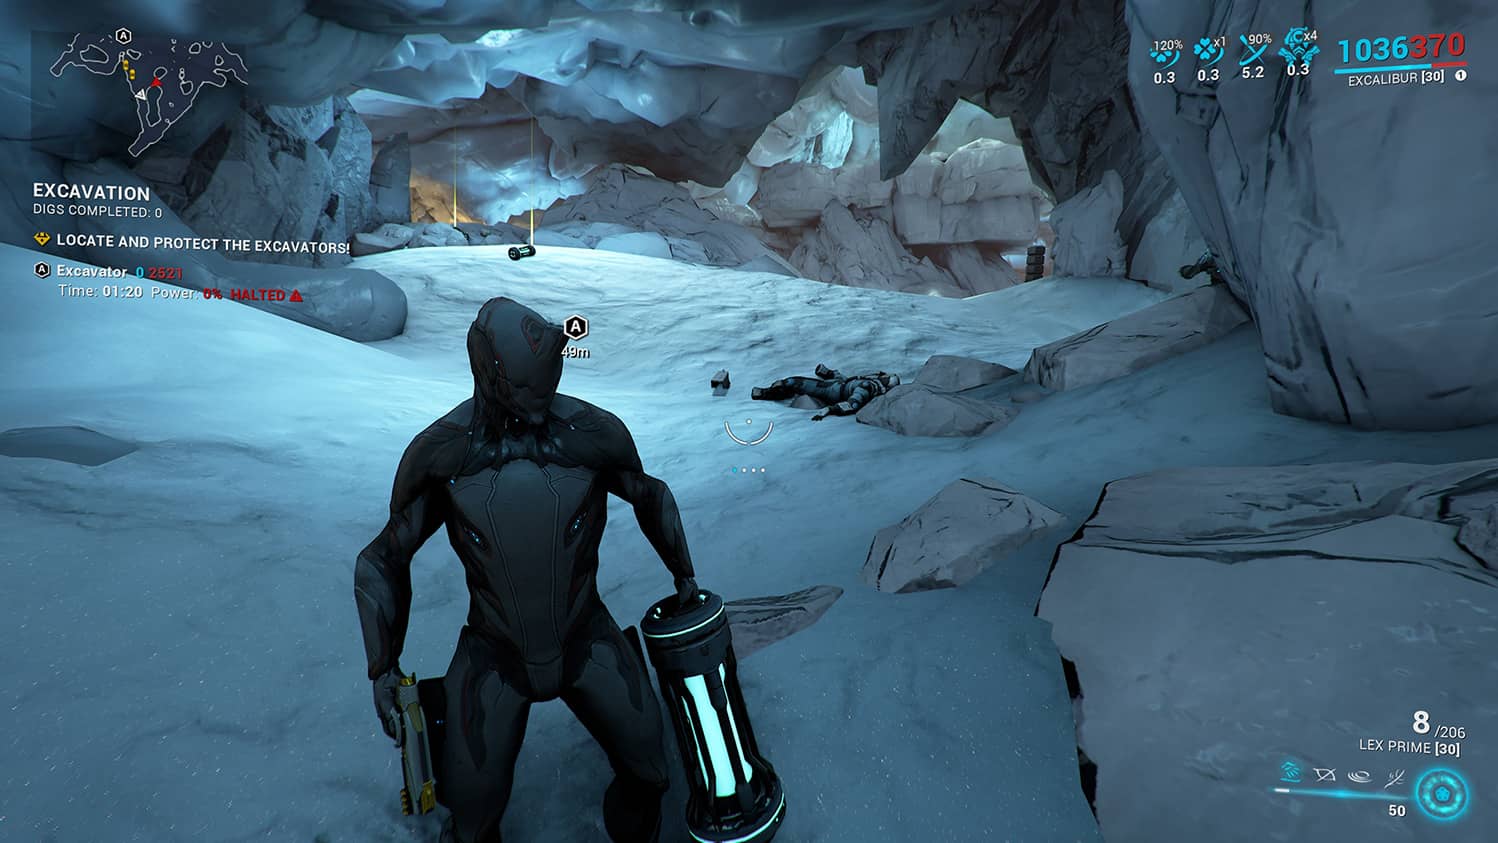
Carrying a Power Cell will temporarily limit you to using your Secondary Weapon and Melee Weapon. Your Primary Weapon will be unavailable until you either drop the Power Cell or deliver it to an Extractor. Make sure your Secondary and/or Melee Weapons are up to snuff!
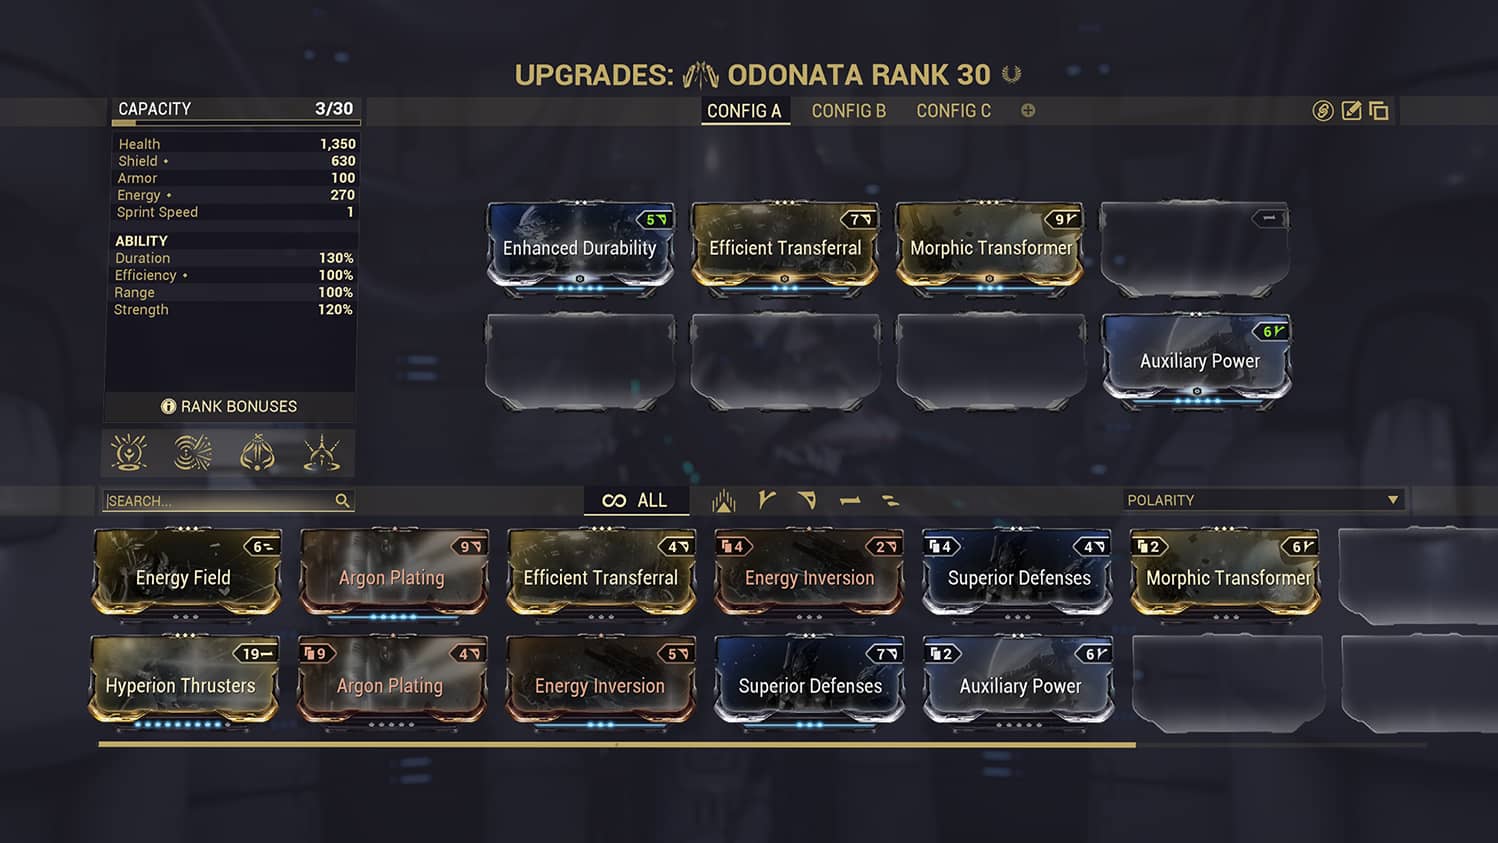
You can obtain additional Archwing Mods by playing Archwing Missions. This will help power up your rig for later space-based Missions.
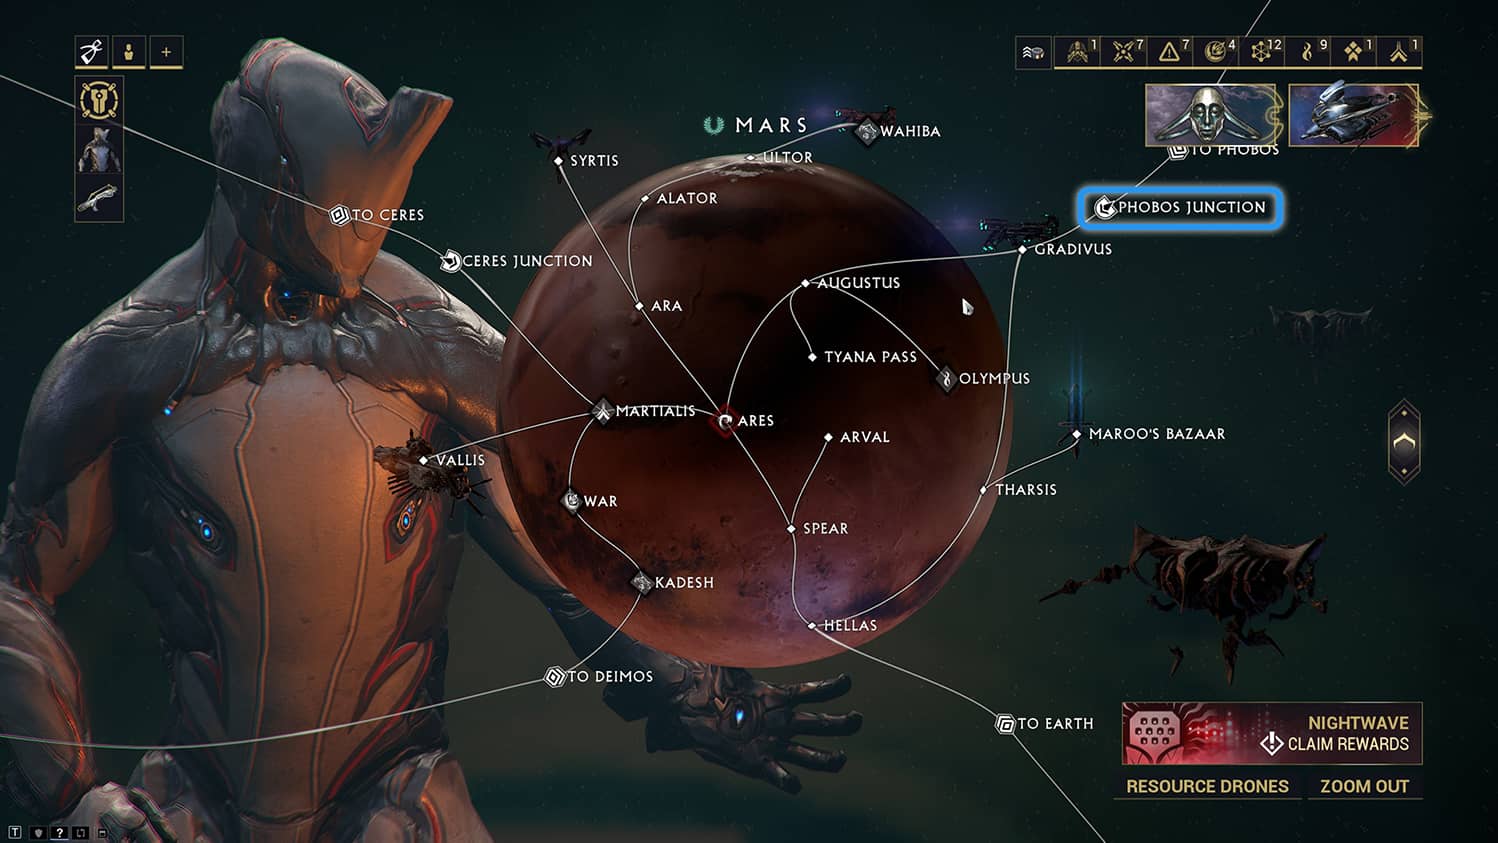
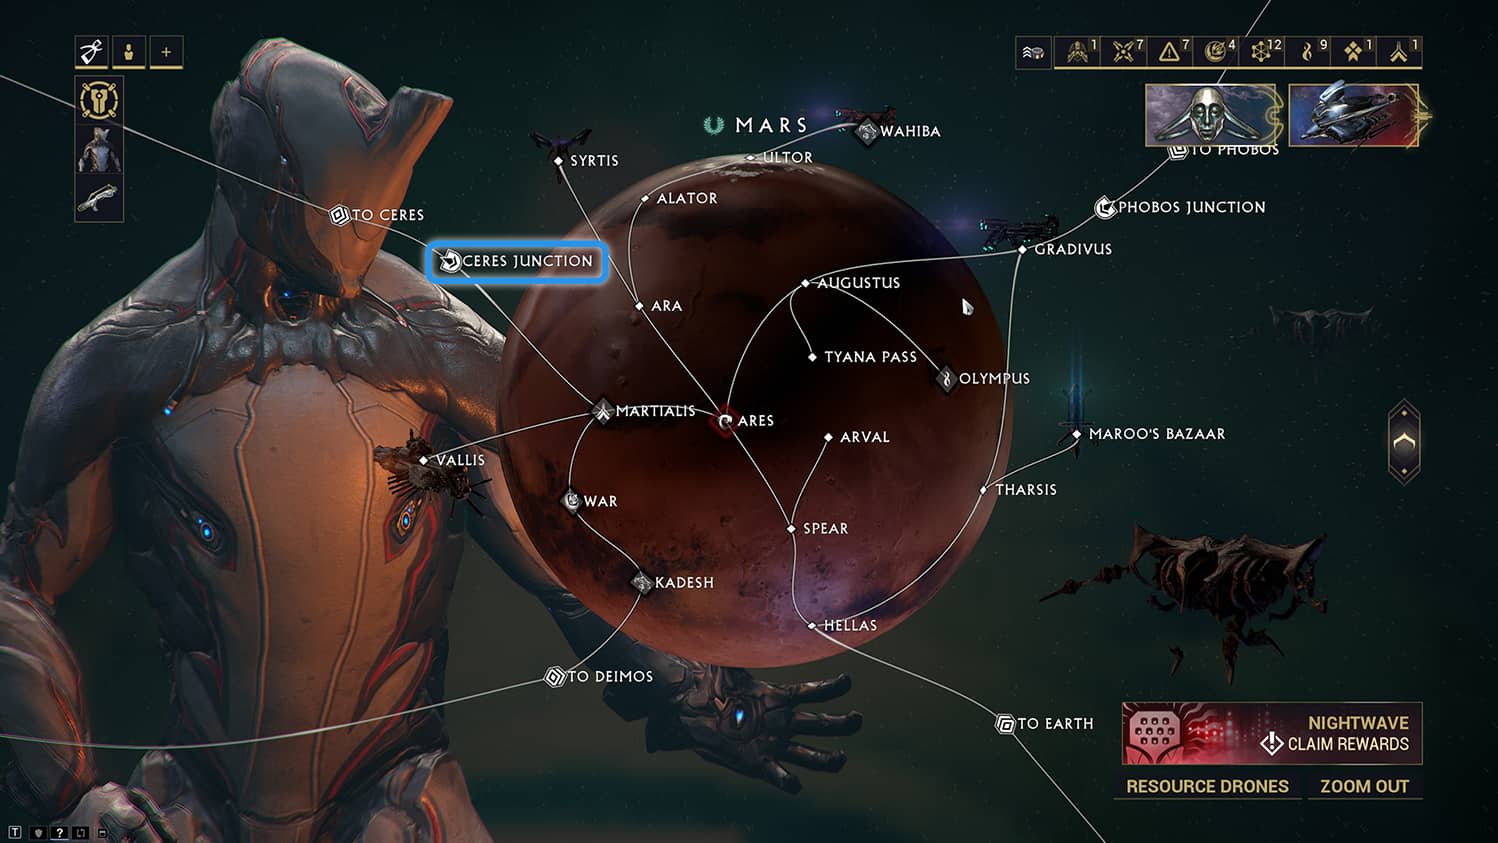
To reach the next Main Story Quest, Natah, you must actually progress through several more sections of the Star Chart to reach the world of Uranus. Since you must complete several of these in sequence, let’s take a moment to list all of the Junctions and their requirements.
The necessary locations include:
- Visit Maroo — you can find her in Maroo’s Bazaar on Mars
- Refine a Void Relic once in your Orbiter — Play Bounties, Defense, Survival and other endless Missions for a chance to obtain Void Relics and complete Void Fissure Missions to find Void Traces
- Open 3 Lith Void Relics — Select a Lith Void Fissure Mission from your Star Chart and choose a Lith Void Relic, then gather 10 Reactant and complete the objective; successfully collecting 10 Reactant on any Void Fissure Mission will also provide Void Traces you can use to refine Void Relics
- Complete Quest: Heart of Deimos
- Defeat The Sergeant at Iliad on Phobos
- Complete Quest: The Archwing
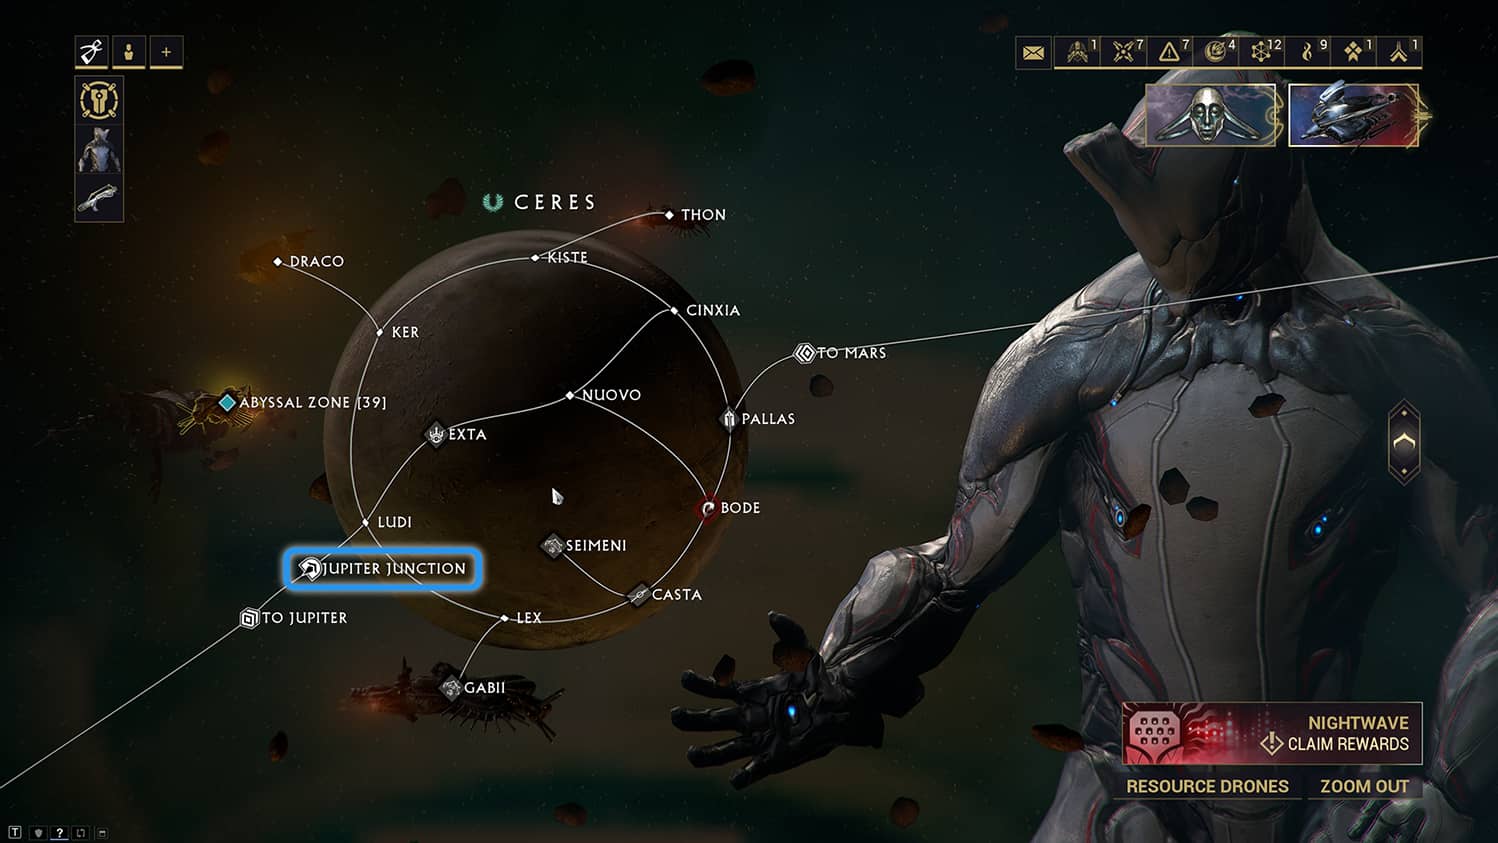
- Defeat Vor and Kril at Exta on Ceres
- Survive 10 minutes or more at Draco on Ceres
you must stay for at least 10 minutes during a single Mission
- Complete Teshub in the Void
You can access the Void location via Stickney on Phobos
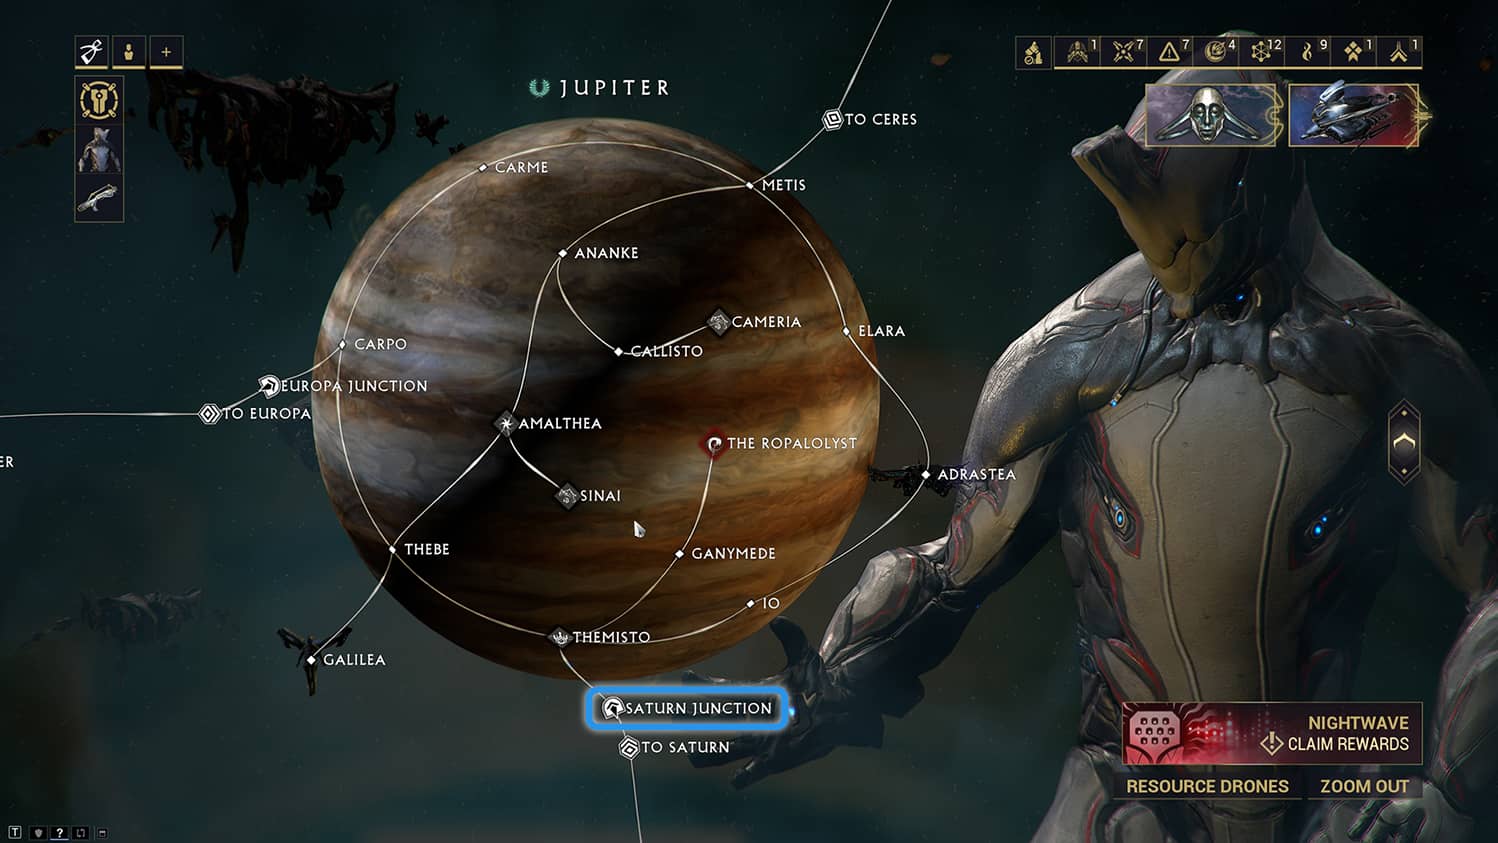
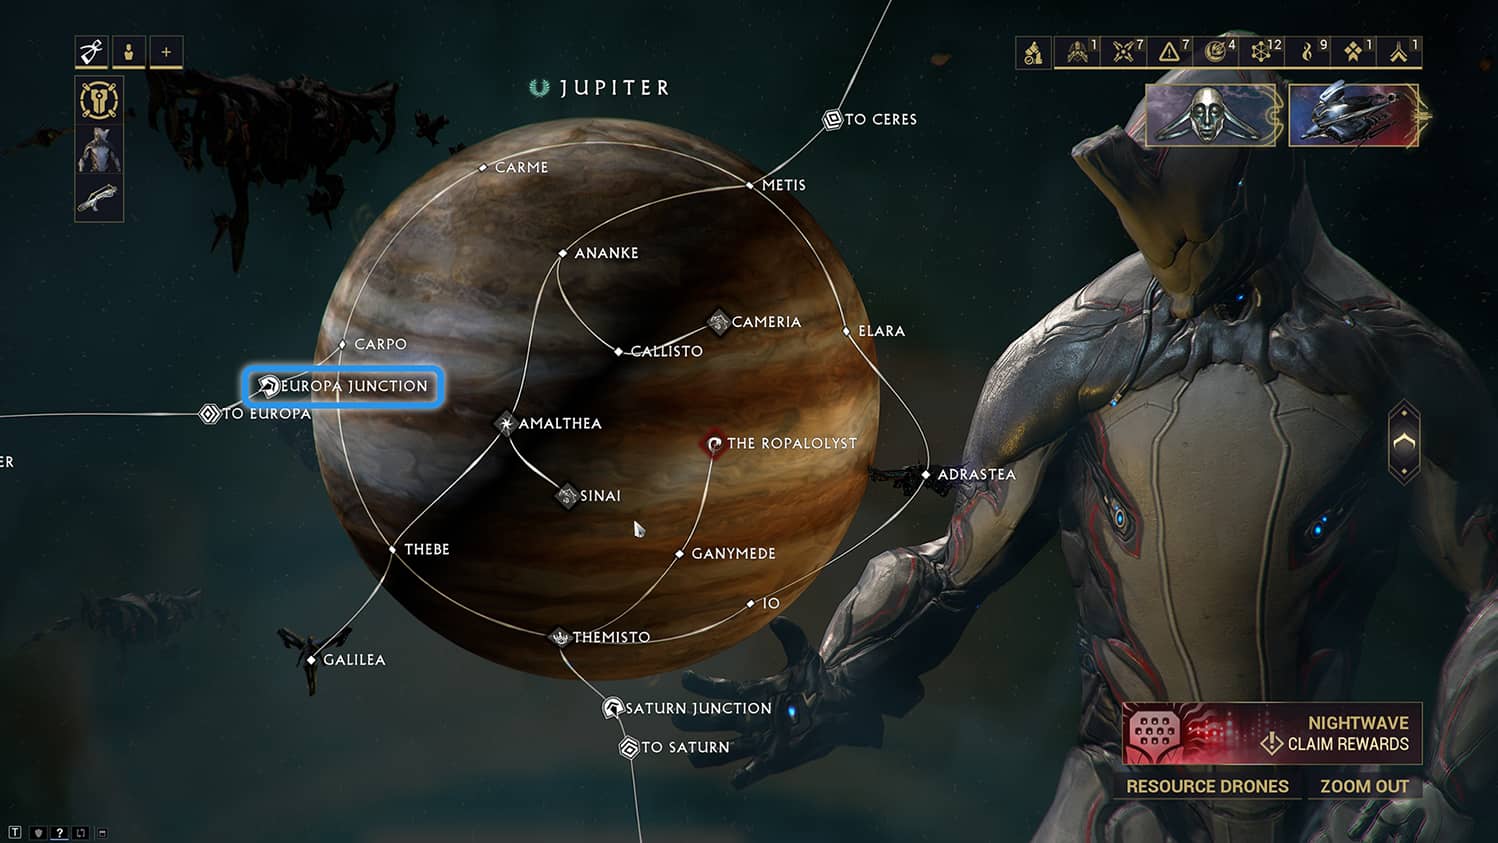
- Defeat Alad V at Themisto on Jupiter
- Complete Baal on Europa
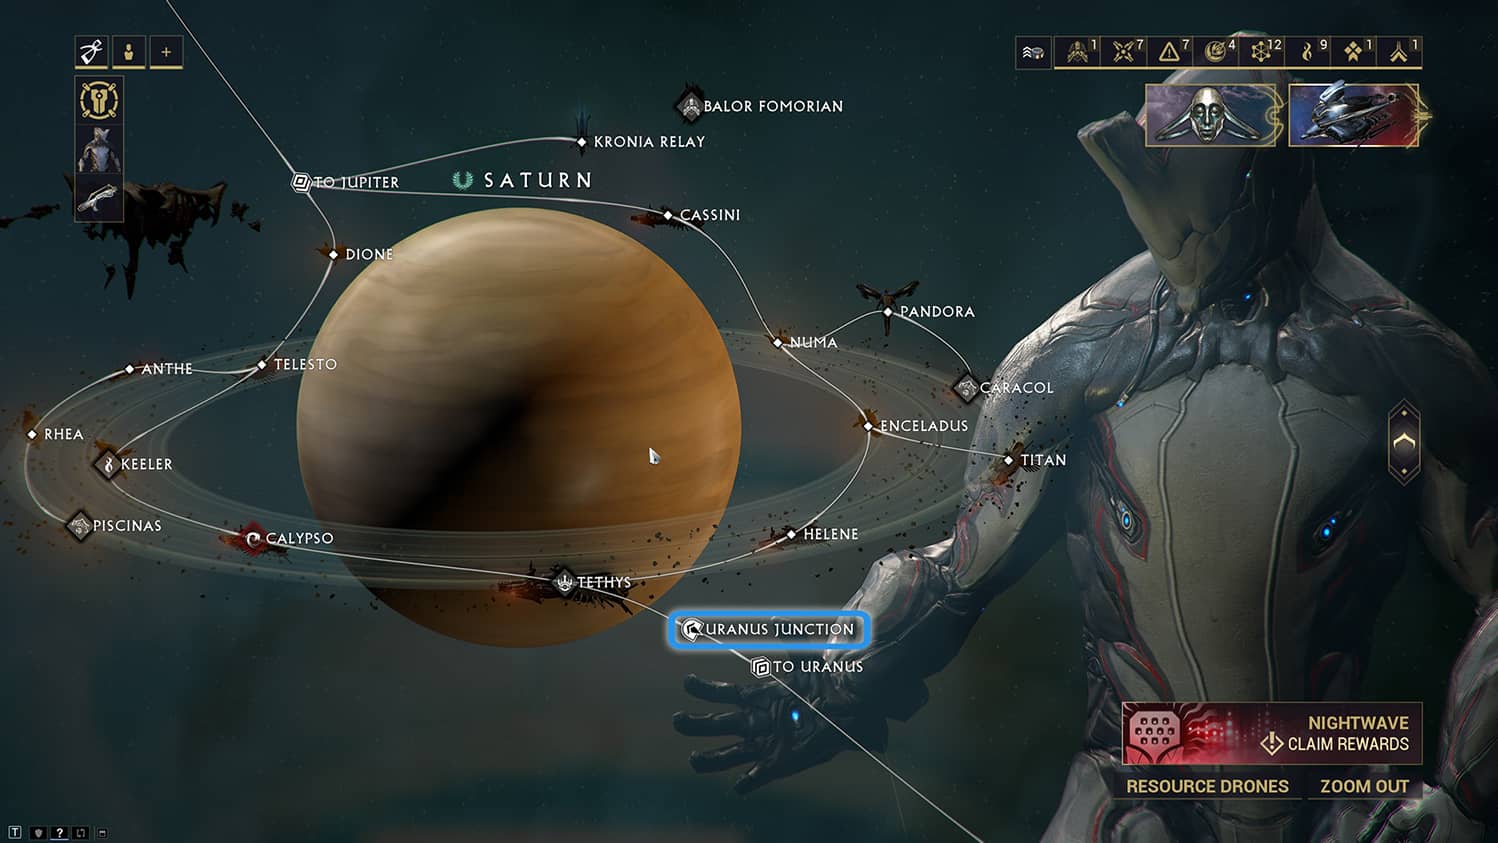
- Defeat Sargas Ruk at Tethys on Saturn
- Open one Meso Void Relic
- Perform Synthesis for Cephalon Simaris
Simaris is found on the second floor of any Relay, such as the Kronia Relay on Saturn, and marked by an orange icon on your map