


Log In With
or
or


You will receive 25 free Codex Scanners when you return to your Orbiter after collecting the Ostron Coffer. You can equip these Codex Scanners from the "Gear" tab of your Arsenal (marked by a circular icon). Make sure to equip them before proceeding!
In order to use your equipped Codex Scanners during a Mission, open your Gear Wheel with Q (or down on the D-pad on a controller) and select it. You can aim it the same as a Primary or Secondary Weapon. Then press and hold the “Fire” button while pointing at any valid target (highlighted in orange) to perform a scan.
You will need to perform scans on three different key Shards — which will be highlighted in orange when you aim with the Codex Scanner — to proceed. All three Shards are located inside a Grineer encampment, within a yellow objective marker that appears on your map.
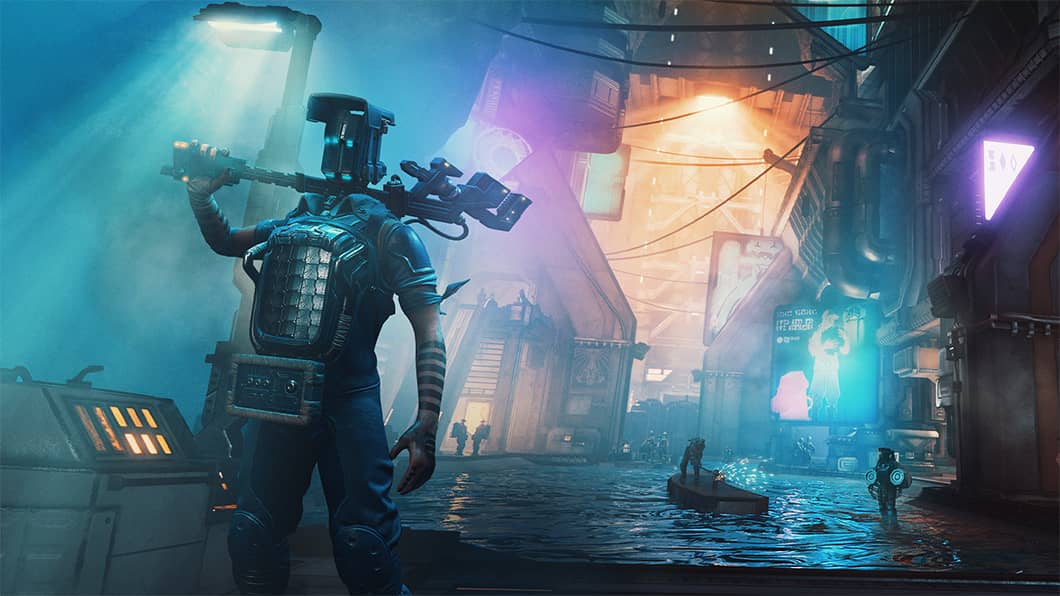
The next leg of the Quest takes you off Cetus to a Grineer ship. There is another Shard to scan inside a Grineer vault (indicated by an objective marker). You will need to put your jumping skills to the test to enter the enclosed area where it resides.
The search for the final Shard will take you back to Cetus. After a brief altercation with an Eidolon, you can find the final Shard inside yellow objective marker within a cave beneath a large stone. Once it’s been scanned, you can safely extract and enjoy the conclusion to Saya’s Vigil as well as a Gara Blueprint.

If you run out of Codex Scanners by scanning objects other than Shards, you can purchase more using Credits from the in-game Market.
At the edge of most planets and moons are special nodes called Junctions. It is critical to complete these Junctions to progress through Warframe. Doing so will permanently unlock access to new locations on the Star Chart, which is required to access most Quests and activity types. This includes the Main Story Quests.
Unlocking the Venus Junction after Vor’s Prize and Saya’s Vigil awards you with a free Orokin Reactor. These can be installed on any Warframe to double its Mod Capacity. Just enter the Upgrades menu in your Arsenal, selct the “Actions” at the bottom, and click the "Upgrade" button to confirm. You can do the same thing with Orokin Catalysts to boost your Weapons. By doubling your Capacity, you can equip more powerful Mods and upgrade them to further power up the chosen Warframe.

To proceed, you must unlock the Venus Junction node on Earth by completing its listed objectives. You can then enter the node and defeat its Specter to permanently unlock Venus and its Missions.
Note: You can perform Fusion at the Mod Station on your Orbiter using a mix of Endo and Credits; Endo is dropped by enemies and as a reward for certain Missions, but you can also Dissolve extra copies of Mods for more Endo at the same Mod Station.